一、首先下载android-ndk,官方网站是: http://developer.android.com/tools/sdk/ndk/index.html
目前最新的版本是 android-ndk-r8e-windows-x86.zip,下载地址:
http://dl.google.com/android/ndk/android-ndk-r8e-windows-x86.zip
下载后把压缩包解压出来,例如:D:\ndk,目录下的ndk-build.cmd就是用来编译的批处理命令。
这里以D:\ndk\samples\hello-jni为例,打开D:\ndk\samples\hello-jni\jni\hello-jni.c查看代码:
/*
 * Copyright (C) 2009 The Android Open Source Project
 *
 * Licensed under the Apache License, Version 2.0 (the "License");
 * you may not use this file except in compliance with the License.
 * You may obtain a copy of the License at
 *
 *      http://www.apache.org/licenses/LICENSE-2.0
 *
 * Unless required by applicable law or agreed to in writing, software
 * distributed under the License is distributed on an "AS IS" BASIS,
 * WITHOUT WARRANTIES OR CONDITIONS OF ANY KIND, either express or implied.
 * See the License for the specific language governing permissions and
 * limitations under the License.
 *
 */
#include <string.h>
#include <jni.h>

/* This is a trivial JNI example where we use a native method
 * to return a new VM String. See the corresponding Java source
 * file located at:
 *
 *   apps/samples/hello-jni/project/src/com/example/hellojni/HelloJni.java
 */
jstring
Java_com_example_hellojni_HelloJni_stringFromJNI( JNIEnv* env,
                                                  jobject thiz )
{
    return (*env)->NewStringUTF(env, "Hello from JNI !");
}
因为我们是拿这个c源码文件来使用,如果迁就 Java_com_example_hellojni_HelloJni_stringFromJNI
函数名的话,在我们的android工程中java类的声明就要是: com/example/hellojni/HelloJni.java。
反之,如果我们的android工程已经创建好,并且包名是com.example.hellojni,stringFromJNI函数我们写在了MainActivity.java类里,
那么这里的c函数就要修改为:Java_com_example_hellojni_MainActivity_stringFromJNI,否则在寻找函数时会找不到。
二、编译,打开cmd命令行窗口,cd进入目录: D:\ndk\samples\hello-jni,
然后执行命令:D:\ndk\ndk-build.cmd(如果设置过环境变量则直接使用ndk-build.cmd)来编译hello-jni,如果没有错误会输出:
Gdbserver   : [arm-linux-androideabi-4.6] libs/armeabi/gdbserver

Gdbsetup    : libs/armeabi/gdb.setup
"Compile thumb : hello-jni <= hello-jni.c
SharedLibrary : libhello-jni.so
Install    : libhello-jni.so => libs/armeabi/libhello-jni.so
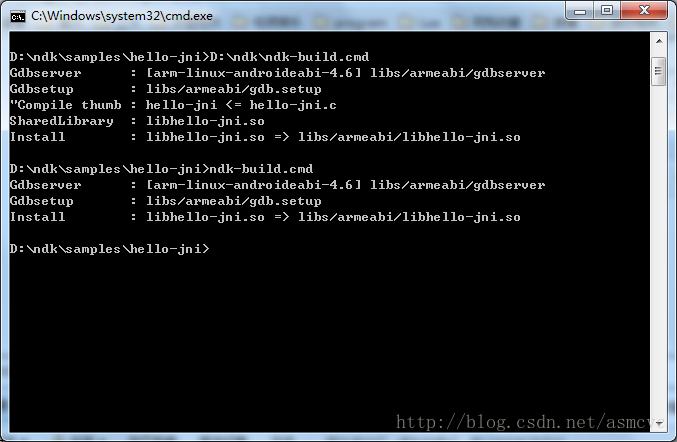
编译成功会在D:\ndk\samples\hello-jni\libs\armeabi目录下生成libhello-jni.so文件。
三、创建android应用程序并使用so文件
打开eclipse创建一个android应用程序HelloJni,默认的com.example.hellojni包下面有一个MainActivity.java,
在此包下添加一个HelloJni.java,
package com.example.hellojni;

public class HelloJni {
    public native String  stringFromJNI();
    /* This is another native method declaration that is *not*
     * implemented by 'hello-jni'. This is simply to show that
     * you can declare as many native methods in your Java code
     * as you want, their implementation is searched in the
     * currently loaded native libraries only the first time
     * you call them.
     *
     * Trying to call this function will result in a
     * java.lang.UnsatisfiedLinkError exception !     */
}
MainActivity.java修改为:
package com.example.hellojni;

import android.os.Bundle;
import android.app.Activity;
import android.view.Menu;
import android.widget.TextView;
import android.util.Log;

public class MainActivity extends Activity {

    @Override
    protected void onCreate(Bundle savedInstanceState) {
        super.onCreate(savedInstanceState);
        //setContentView(R.layout.activity_main);
        HelloJni jni = new HelloJni();
        TextView  tv = new TextView(this);
        String str = jni.stringFromJNI();
        Log.d("HelloJni", str);
        tv.setText(str);
        setContentView(tv);
    }

    @Override
    public boolean onCreateOptionsMenu(Menu menu) {
        // Inflate the menu; this adds items to the action bar if it is present.        getMenuInflater().inflate(R.menu.main, menu);
        return true;
    }

    static {
        System.loadLibrary("hello-jni");
    }
}
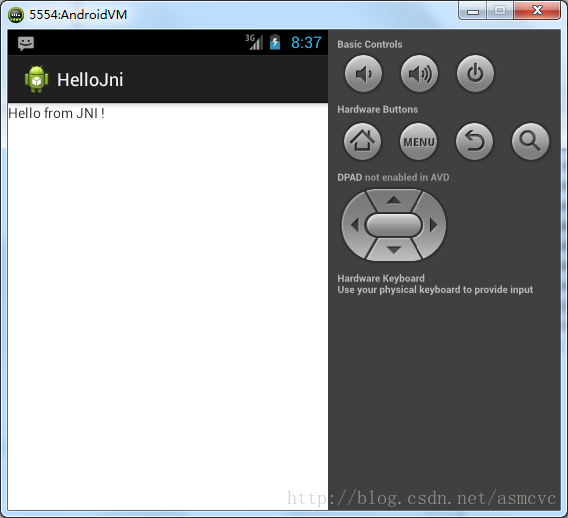
把编译生成的libhello-jni.so文件复制到F:\eclipse_workspace\HelloJni\libs\armeabi目录下(armeabi如果不存在则手动创建之),然后编译运行,效果图如下:
参考资料:
Android Eclipse JNI 调用 .so文件加载问题: http://blog.sina.com.cn/s/blog_4d0afbdb0100m7y7.html
Android NDK 生成、调用so文件: http://blog.csdn.net/vestigge/article/details/8597993
文档信息
- 本文作者:zhupite
- 本文链接:https://zhupite.com/android/how-to-develop-android-ndk.html
- 版权声明:自由转载-非商用-非衍生-保持署名(创意共享3.0许可证)